
In this post, I will be guiding you on how to install a WordPress plugin. As you know, WordPress is a free and open-source content management system based on PHP and MySQL. Its features include a plugin architecture and a template system. It is most associated with blogging but supports other types of web content including more traditional mailing lists and forums, media galleries, and online stores. After the installation of WordPress, the first thing every user needs to learn is how to install a WordPress plugin. Plugins allow you to add new features to WordPress such as add a gallery, slideshow, insert header and footer, etc. There are 50,000+ free and paid plugins available for WordPress. In this guide, I will be showing you how to install a WordPress plugin.
How to Install a WordPress Plugin
In this step by step guide, I have covered two methods: installing a WordPress plugin using search and uploading a WordPress plugin.
Method 1. Install a Plugin using WordPress Plugin Search
The easiest way of installing a WordPress plugin has to be the plugin search. It makes the process so easy because we can search the desired plugin name and install it. The only drawback of this method is that the plugin must be in the WordPress Plugin Directory which is limited to only free plugins.
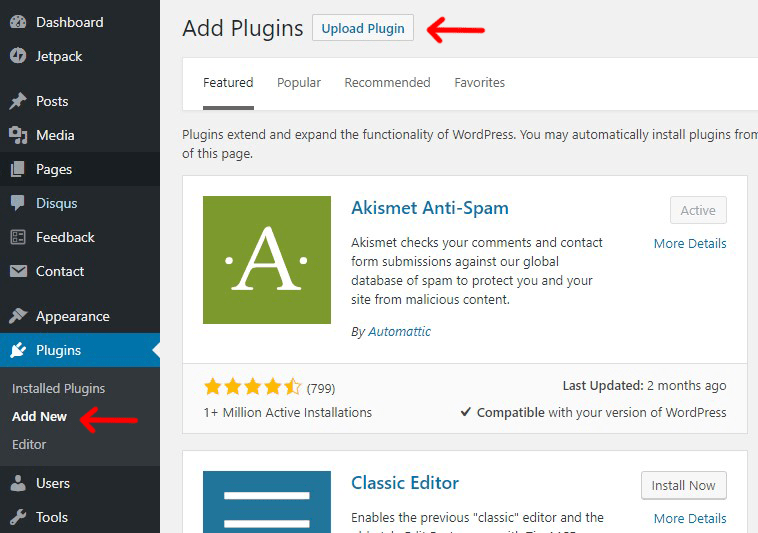
The first thing you need to do is go to your WordPress Dashboard and click on Plugins » Add New.

You will see a screen like the one in the screenshot above. Find the plugin by typing the plugin name or the functionality you are looking for like we did. After that, you will see a bunch of listings like the example below:
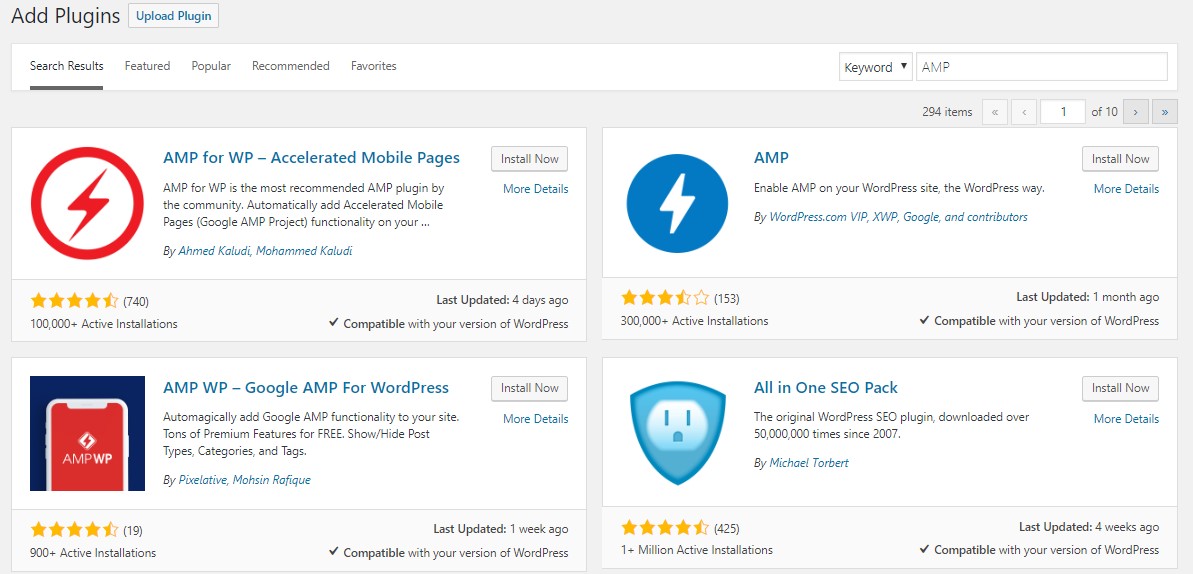
You can pick the plugin that is best for you. Since in our search, I am looking for AMP (Accelerated Mobile Pages) which happens to be the second plugin, I will click the ‘Install Now’ button.
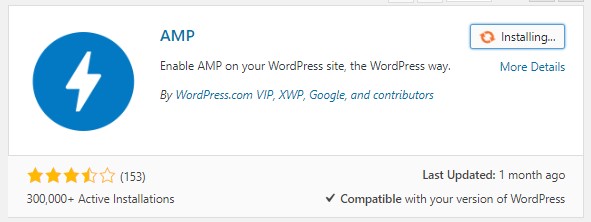
WordPress will now download and install the plugin for you. After this, you will see installing button changes to activate the plugin.
A WordPress plugin can be installed on your site, but it will not work unless you activate it. So go ahead and click on the activate plugin link to activate the plugin on your WordPress site. That’s all, you have successfully installed your WordPress plugin.
Method 2. Install a Plugin using the WordPress Admin Plugin Upload
This is the second method that can be applied to install the paid plugins which are not listed in the plugin directory. That’s why WordPress has the Upload method to install such plugins. We will show you how to install WordPress plugins using the upload option in the WordPress Dashboard.
First, you need to download the plugin from the source (which will be a zip file). Next, you need to go to the WordPress admin area and visit Plugins » Add New page.
After that, click on the Upload Plugin button on top of the page.
This will bring you to the plugin upload section. Here you need to click on the choose file button and select the plugin file you downloaded to your computer.

After you have selected the file, you need to click on the install now button.
WordPress will now upload the plugin file from your computer and install it for you. You will see a success message like this after the installation is finished.
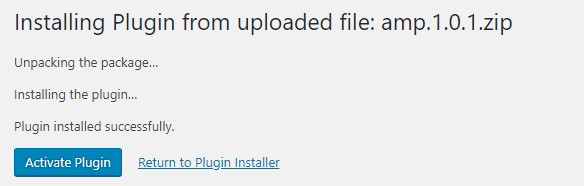
Once installed, you need to click on the Activate Plugin link to start using the plugin.
Conclusion
Hurray!! ? ? Congratulations, I hope you have learned the method on How to install a WordPress Plugin. If you have any questions, suggestions, feedback please don’t hesitate to write them in the comment box below because it will help us to improve or correct our contents. Thanks, Happy FOSS Computing. ?
Suggested For You: “How to Disable Gutenberg and Use Classic Editor in WordPress”